Formula X Mobile Auto Detailing & Ceramic Coating · Exterior Detailing Step by Step
Many swirl marks on a car’s paint weren’t made by a bad product. They were made by doing the right steps in the wrong order, or by doing a step with dirty tools. A good exterior detail follows a set sequence for a reason: the dirtiest parts come first, nothing touches the paint until most of the grit is gone, and the last steps are the ones that would be ruined by anything that came before them. This guide walks through a mobile exterior detail one step at a time, from the wheels to the glass. For each step it explains what’s done, why it sits where it does in the order, the mistakes that cause damage, and how you can check the result yourself. It also covers weather, coated cars, and which Formula X package includes which steps. Formula X Mobile Auto Detailing & Ceramic Coating is based at 48 Union St, Stamford, CT 06906, and can be reached at (203) 945-9454.
What are the steps of a mobile exterior detail, in order?
A careful exterior detail usually runs in this order: a walk-around inspection, wheels and tires, a pre-rinse and pre-wash foam, a two-bucket hand wash from the top down, a final rinse, drying, clay bar decontamination, a layer of protection such as a ceramic sealer or wax, trim and tire dressing, exhaust tips, and the glass last. The order moves from dirtiest to cleanest so grit is never dragged across clean paint.
For what each Formula X package includes, read the companion guide on what’s included in a mobile exterior detail. For the service itself, see exterior detailing in Stamford and mobile car wash and detailing in Stamford. If your car is coated, read how to wash a ceramic-coated car.
Where the details come from: Package names, prices, and contents come from Formula X’s published packages. The step-by-step method is general professional detailing practice, not a set of rules from any one source. Wash-water guidance comes from the Long Island Sound Partnership and the Stamford MS4 fact sheet, winter salt background from a Connecticut Office of Legislative Research report, and coating aftercare from Ceramic Pro. Your own car’s owner’s manual and any coating installer’s instructions come first.
Why the Order of the Steps Matters
Quick answer: Every step either removes dirt or adds protection. Steps that remove the most dirt go first, steps that touch the paint come only after loose grit is gone, and steps that would be spoiled by water or overspray, like glass and dressing, come last. Change the order and you either scratch the paint or redo work.
Think of the car as moving from dirty to clean, one zone at a time. Wheels carry brake dust, road grime, and grit, so they’re cleaned before the paint, when splashing doesn’t matter. The paint gets rinsed and foamed before anyone touches it, so the wash mitt meets as little grit as possible. Clay comes after the wash, because rubbing clay over a dirty panel would grind grit into the clear coat.
Protection comes after clay, because sealant and wax bond best to paint that’s clean and smooth. Dressing and glass come last, because they’d be undone by rinse water, smeared by a wax towel, or spotted by sealant overspray if they were done earlier.
None of this is a secret. It’s the logic most careful detailers follow, and it explains why a proper exterior detail takes longer than a drive-through wash. The time goes into doing each step in the place where it can’t be undone by the next one.
| Stage | Steps | Why it sits here |
|---|---|---|
| Inspect | Walk-around | Note damage and finishes before anything touches the car |
| Dirtiest first | Wheels, tires, wheel wells | Splash and grime land on paint that hasn’t been washed yet |
| Loosen before touching | Pre-rinse, foam pre-wash | Removes loose grit so the mitt drags less across the paint |
| Contact wash | Two-bucket hand wash, final rinse | Lifts bonded dirt after the loose grit is gone |
| Dry and decontaminate | Drying, clay bar | Clay needs a clean surface to work safely |
| Protect | Ceramic sealer or wax | Bonds best to clean, smooth paint |
| Finish | Trim, tires, exhaust tips, glass | Would be spoiled by rinse water or overspray if done earlier |
The Tools a Careful Exterior Detail Relies On
Quick answer: A careful exterior detail uses separate tools for wheels and paint, two wash buckets with grit guards or a similar rinse system, soft wash mitts, a foam pre-wash, plush drying towels or a blower, clay with plenty of lubricant, clean applicators, and dedicated glass towels.
Good tools don’t replace good technique, but bad tools make good technique impossible. The single biggest rule is separation. Brushes and mitts used on wheels never touch the paint, because wheel grime holds brake dust and metal particles that scratch.
On the paint side, the wash mitt should be soft and deep enough to pull grit away from the surface. Two buckets, one with soapy water and one with plain rinse water, keep most of the dirt out of the soap. Grit guards at the bottom of the buckets help keep settled dirt from being picked back up.
Drying towels should be clean, plush, and used only for drying. A blower helps clear water from mirrors, grilles, emblems, and door handles, where towels can’t reach and drips would leave spots. Clay needs a slick lubricant, and glass gets its own towels so wax and dressing residue never end up streaked across the windshield.
| Tool | Used for | Why it matters |
|---|---|---|
| Wheel brushes and a separate wheel mitt | Wheel faces, barrels, lug nuts | Keeps brake dust and grime away from the paint |
| Foam cannon or pump sprayer | Pre-wash | Loosens dirt before any contact |
| Two buckets with grit guards | Hand wash | Separates rinse water from soapy water |
| Soft, deep wash mitts | Contact wash | Pulls grit away from the surface |
| Plush drying towels and a blower | Drying | Reduces dragging and clears hidden water |
| Clay bar or clay mitt with lubricant | Decontamination | Lifts bonded contamination without scrubbing |
| Clean applicators and buffing towels | Sealant, wax, dressing | Spreads product thinly and removes residue |
| Dedicated glass towels | Windows and mirrors | Avoids streaks from other products |
Setting Up: Shade, Space, and Where the Water Goes
Quick answer: Before the first step, a mobile detailer picks a spot with room to walk around the car, checks that the paint is cool to the touch, and plans where wash water will go. Hot panels, tight spaces, and runoff into storm drains all cause problems later in the job.
A mobile detail happens wherever the car is parked, so setup does some of the work a shop’s building does. The first question is space. The detailer needs to walk all the way around the car with hoses, buckets, and towels without brushing against another car, a wall, or a hedge.
The second question is heat. Paint that’s hot from the sun dries soap and water almost as fast as they’re applied, and that leaves spots and streaks. Shade, a cooler time of day, or working one panel at a time helps. A garage or a covered spot is ideal when it’s available.
The third question is water. Stamford’s storm drains are covered by a state stormwater permit, summarized in the Stamford MS4 fact sheet, and the Long Island Sound Partnership’s clean-water tips explain how what goes into storm drains reaches local waterways. Many condo and office properties have their own rules about where cars can be washed. When you book, mention anything your building or association requires, and read how to prepare for a mobile detail for the rest.
What Changes When the Detail Comes to You
Quick answer: A mobile detail follows the same order as a shop detail, but it brings its own water, power, and equipment, and it adapts to the spot where the car is parked. Shade, space, surface, and property rules shape how each step is done.
In a shop, the building controls the conditions: a roof, a drain, good lighting, and walls that block wind. On a driveway or in a parking garage, the detailer creates those conditions as far as possible. That’s why a mobile detail starts with picking the right spot and why the setup step in this guide matters as much as the wash.
Lighting is one difference. A shop has bright, even lights for checking paint. Outdoors, the detailer uses daylight, moves around the car to see it from different angles, and may use a handheld light to check panels. Shade helps the products work but can hide streaks, so the final check is done in more than one kind of light.
Space is another. In a tight garage, the detailer works around pillars and neighbors’ cars and keeps hoses and cords out of walkways. For more on how mobile work compares with a shop, read mobile detailing vs. a detail shop.
Step 1: The Walk-Around Inspection
Quick answer: Before any water touches the car, the detailer walks around it and notes existing scratches, chips, loose trim, wraps, paint protection film, coatings, and any area you’ve asked about. This sets expectations and decides how gently each area is handled.
The walk-around isn’t paperwork. It changes how the job is done. A car with paint protection film on the hood, a matte wrap on the roof, or a ceramic coating calls for different products and gentler handling than bare gloss paint. A loose piece of trim or a cracked mirror cap needs to be avoided, not scrubbed.
It’s also when expectations get set. A detail cleans and protects. It doesn’t remove scratches, fix chips, or repair damage, and pointing out existing marks before the wash avoids surprises afterward. If you want to know whether a mark can be polished, read can a car scratch be buffed out?.
If you’re home, walk around with the detailer. Point out the bird droppings that have sat for a week, the sap from the tree over the driveway, and the spot on the bumper you’re worried about. Those details shape the next hour.
| What gets noted | Why it matters later |
|---|---|
| Existing scratches and chips | So they aren’t mistaken for new damage |
| Wraps, film, matte finishes | Some products and techniques aren’t safe on them |
| Existing ceramic coating | Changes the wash chemistry and protection step |
| Sap, tar, bird droppings, water spots | May need extra time and can add to the price |
| Loose trim, cracked parts | Handled gently and left alone |
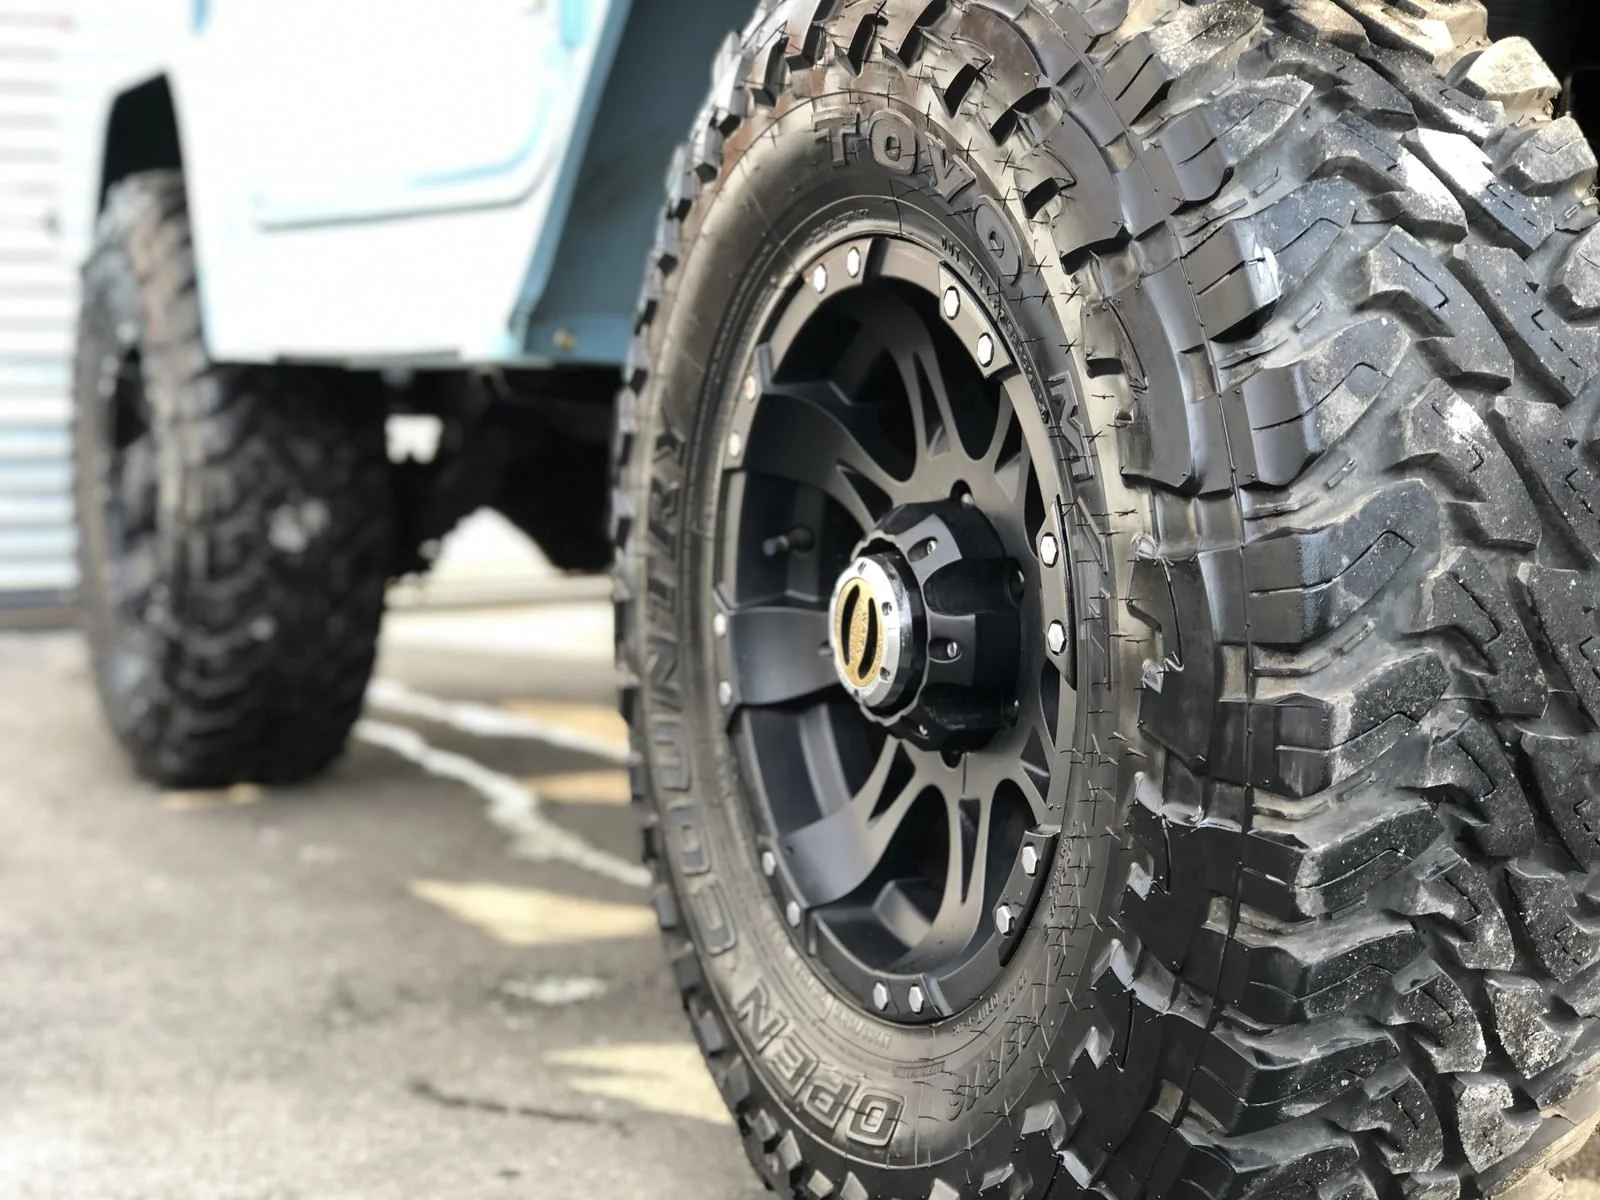
Step 2: Wheels, Tires, and Wheel Wells Come First
Quick answer: Wheels come first because they’re the dirtiest part of the car and cleaning them splashes grime. Each wheel is cleaned while it’s cool, with a wheel-safe cleaner and separate brushes for the face, barrel, and lug nuts, then rinsed before moving to the next one.
Brake dust is the reason wheels get their own step. It sticks to the wheel surface and builds up in the barrel and around the lug nuts. Cleaning wheels first means that any grime splashed onto the lower doors gets washed off later, instead of landing on paint that was just cleaned.
The wheel should be cool. Spraying cleaner on a hot wheel right after a drive can make it dry too fast and leave stains. A good method works one wheel at a time: rinse, apply cleaner, agitate the face, the inner barrel, and around each lug nut with brushes sized for the job, then rinse thoroughly before the next wheel.
Tires get scrubbed in the same step. Old dressing and road film turn tires brown over time, and a tire that isn’t cleaned won’t hold new dressing evenly. The plastic liners in the wheel wells get rinsed and brushed too, because they hold the grime that would otherwise drip onto clean paint. That’s cleaning the liner you can see, not any kind of underbody work.
Never share wheel tools with the paint. A brush or mitt that has touched a wheel holds brake dust and metal particles. Using it on the paint, even once, can leave scratches that take polishing to remove. Wheel tools stay with the wheels.
How to check it yourself: look through the spokes at the inner barrel, run a finger near a lug nut, and look at the tire sidewall. The barrel should be clean, not just the face, and the tire should be an even dark color before any dressing goes on.
Step 3: The Pre-Rinse and Foam Pre-Wash
Quick answer: The pre-rinse knocks loose dirt off the car with water, and the foam pre-wash softens what’s left so more of it rinses away before any mitt touches the paint. The less grit on the surface during the contact wash, the less chance of scratches.
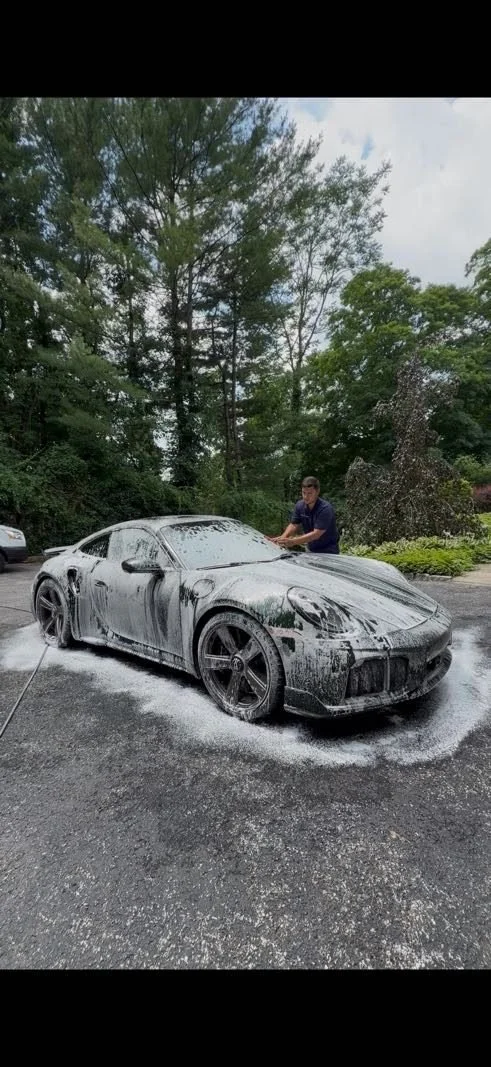
Most wash scratches are caused by grit being dragged across the paint. The pre-rinse and pre-wash are there to remove as much of that grit as possible without touching the car. A thorough rinse from the top down clears loose dust, pollen, and sand, especially from the lower panels and around the wheels where dirt collects.
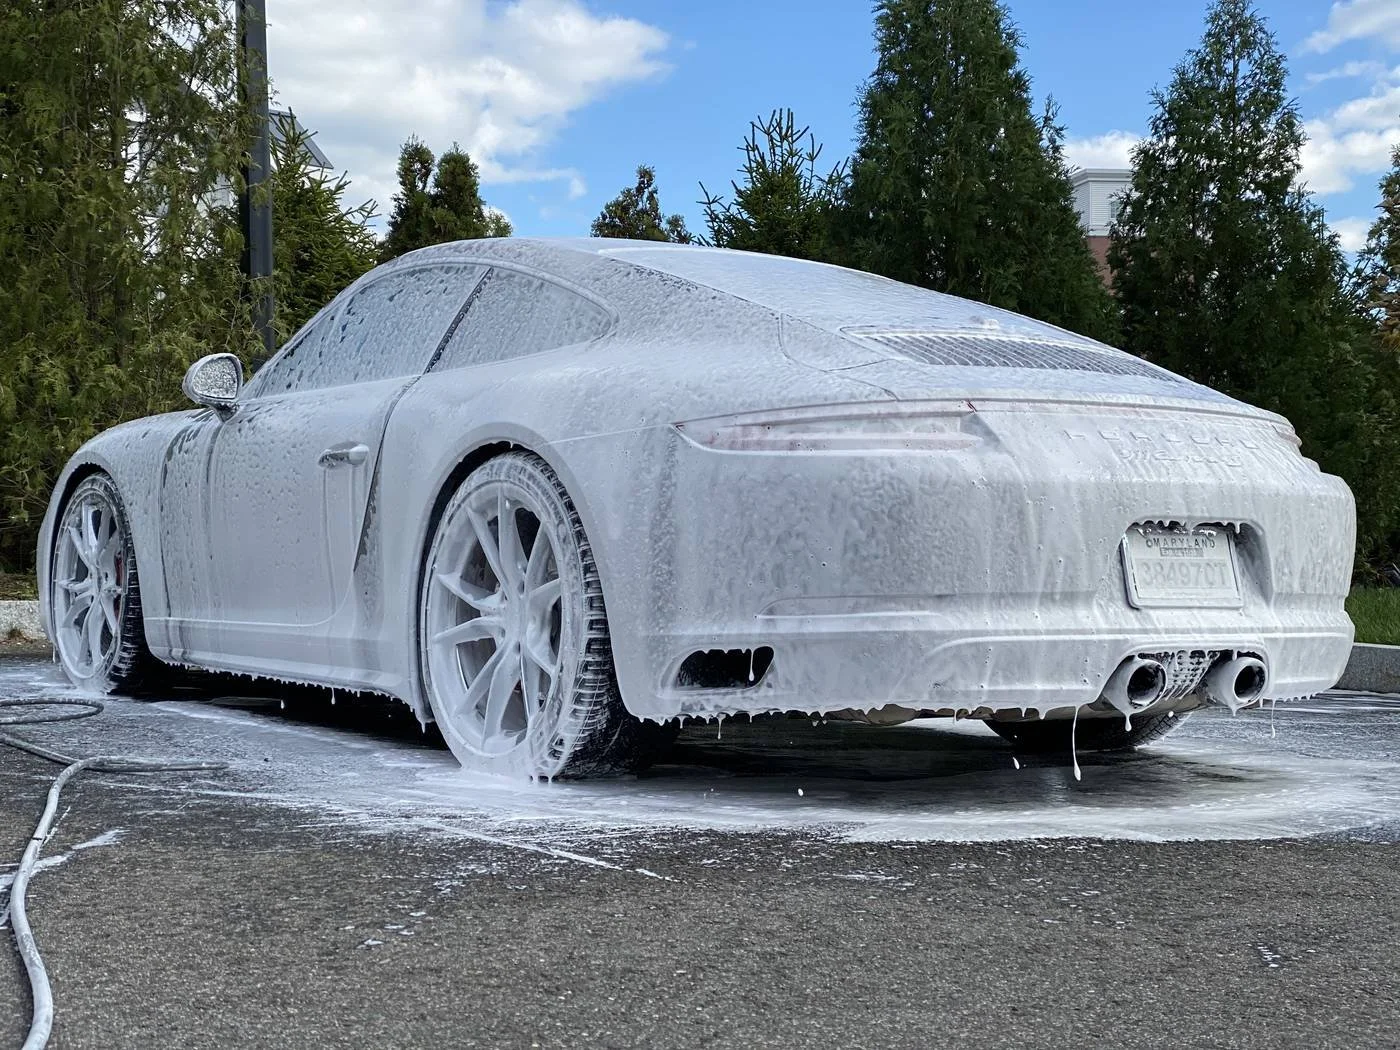
Foam goes on next. A thick foam clings to the panels, giving the soap time to loosen road film. It’s left to dwell for a short time, then rinsed off. The key is not to let it dry, which is why foam is applied in shade or on cool panels and rinsed before it starts to streak.
On a very dirty car, the lower doors, rocker panels, and rear bumper may get extra attention here, because that’s where road spray builds up. In winter, that buildup includes salt. For more on why salt matters, read how road salt damages a car.
| Pre-wash step | What it removes | Common mistake |
|---|---|---|
| Top-down rinse | Loose dust, pollen, sand | Rushing the lower panels, where the most grit sits |
| Foam dwell | Softens road film | Letting foam dry on hot paint |
| Second rinse | Loosened dirt and foam | Skipping it and washing straight into the foam |
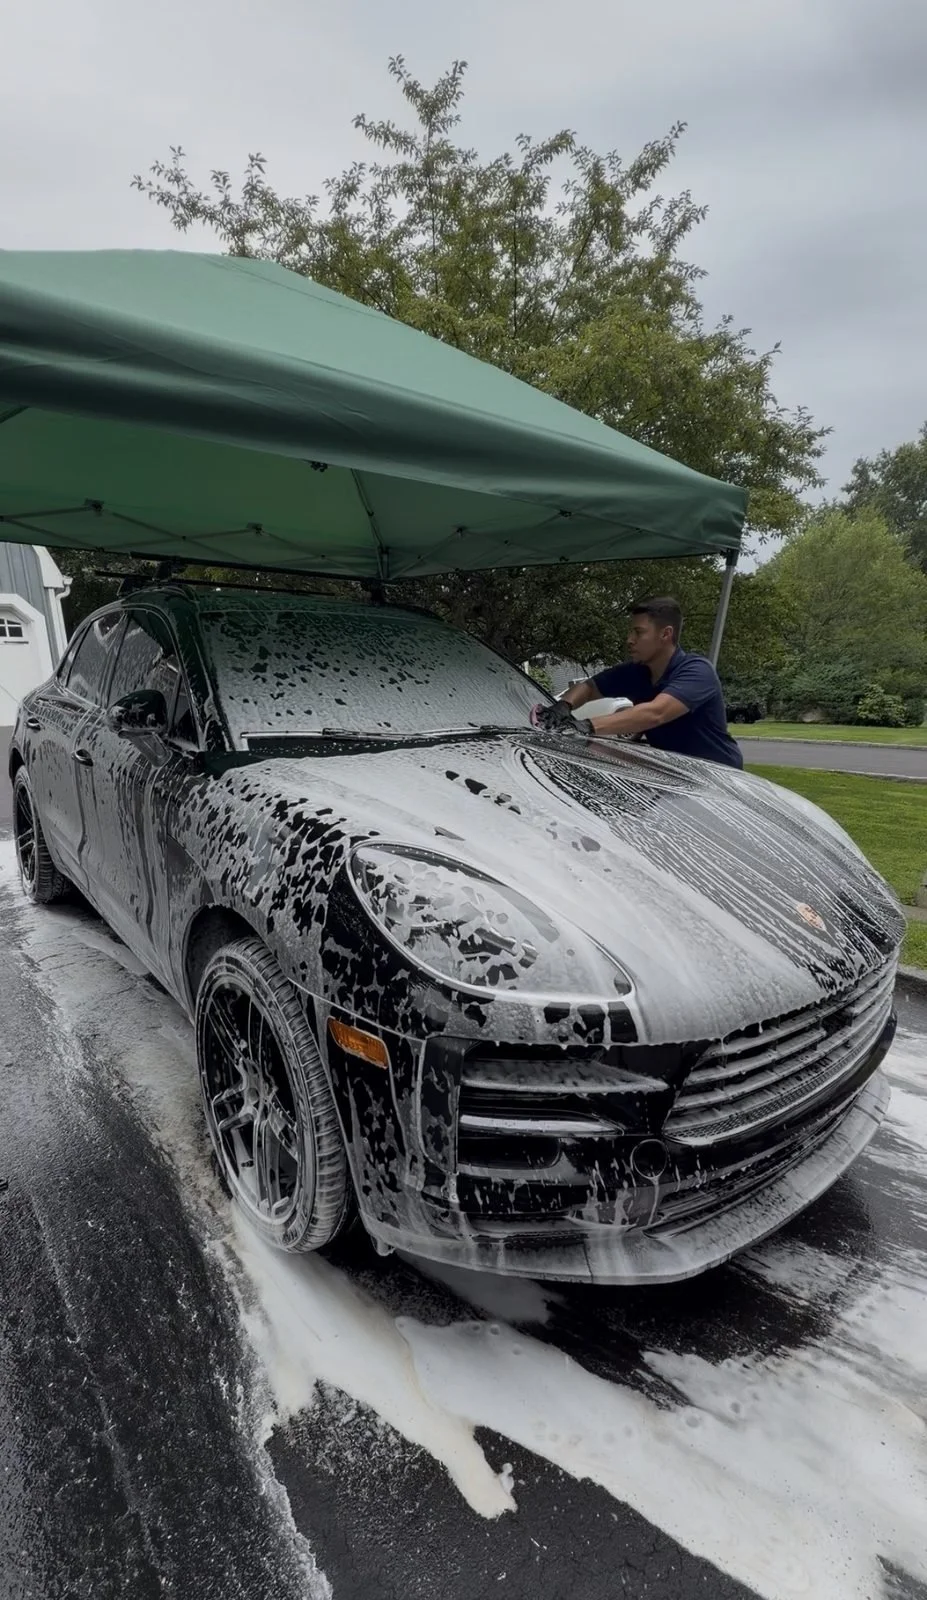
Step 4: The Two-Bucket Hand Wash, Top to Bottom
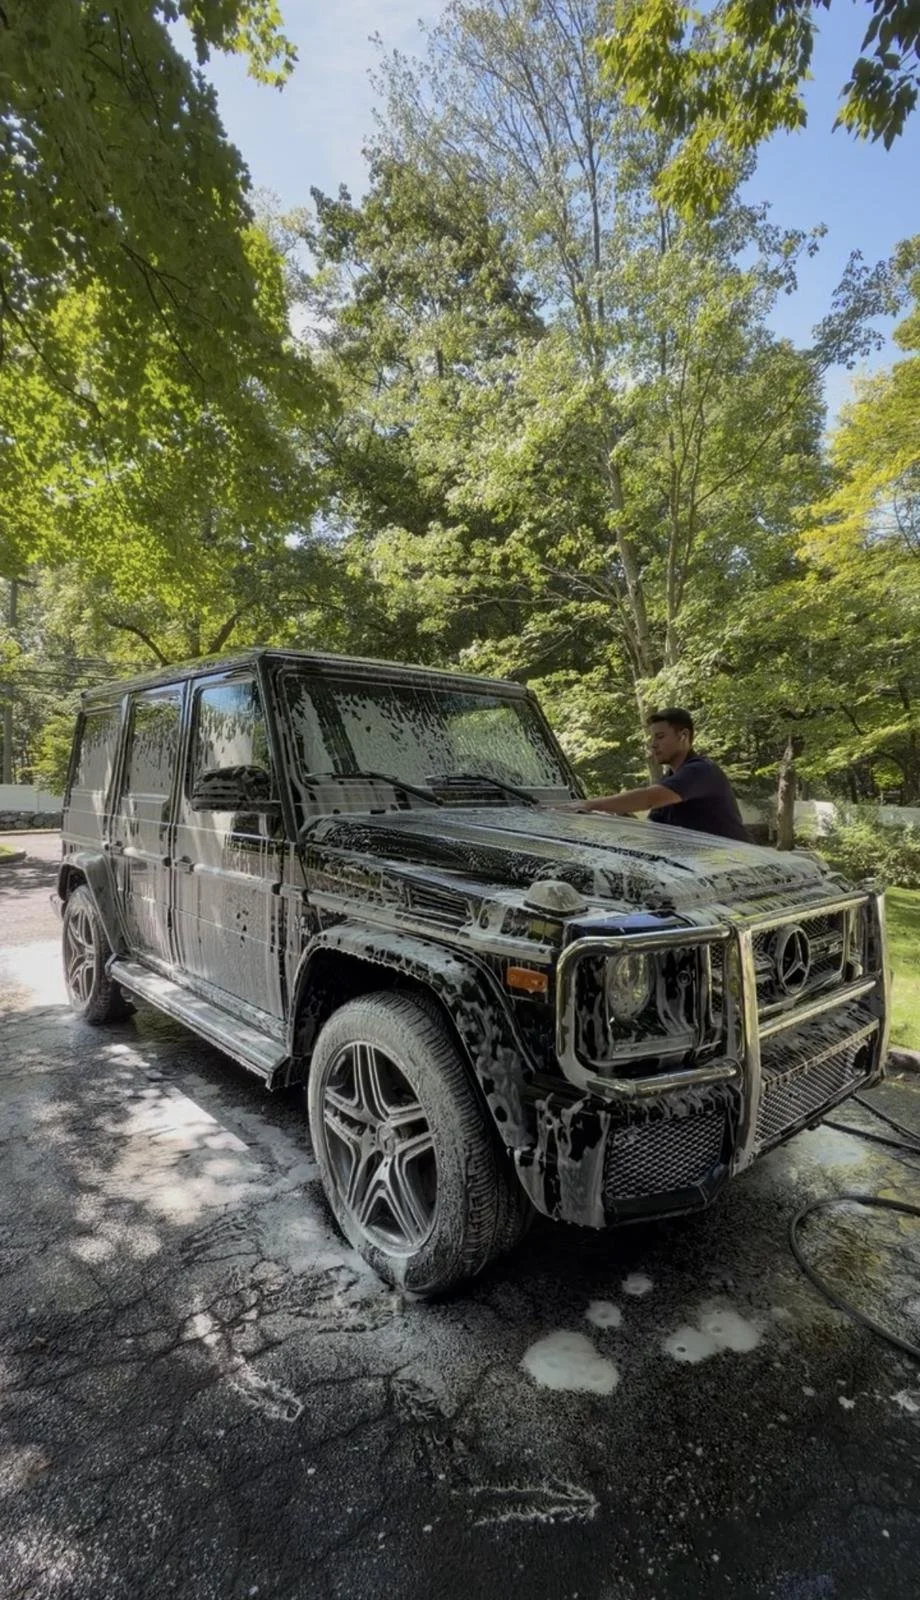
Quick answer: The contact wash uses one bucket of soapy water and one of plain rinse water. The mitt is loaded with soap, run over one section in straight lines, then rinsed in the clean bucket before going back to the soap. The car is washed from the roof down, with the dirtiest lower panels last.
The two-bucket method is simple, and it works because it keeps dirt out of the soap. After each section, the mitt goes into the rinse bucket first, where grit falls off and settles under the grit guard. Only then does it go back into the soap. Without the rinse bucket, every pass would bring old grit back to the paint.
Washing from the top down follows the same logic as the whole detail. The roof, glass, and hood are usually the cleanest panels. The lower doors, rocker panels, and rear bumper are the dirtiest. Washing the clean areas first means the mitt is at its cleanest where the paint is most visible.
Straight, overlapping passes are gentler than scrubbing circles. If a swirl does happen, a straight-line mark is less visible than a circular one. Light pressure matters too. The mitt and soap do the work, and pressing harder only pushes grit into the clear coat. Many detailers switch to a fresh mitt for the lower panels.
- Roof and glass
- Hood and trunk lid or tailgate
- Upper doors and fenders
- Front and rear bumpers
- Lower doors, rocker panels, and the lowest edges last
How to check it yourself: after the wash, look at the lower doors and behind the wheels in good light. Road film left there is the usual sign of a rushed wash.
Step 5: Door Jambs, Fuel Door, Emblems, and Tight Gaps
Quick answer: Tight areas such as emblems, grille openings, the fuel door, and door jambs hold dirt that a mitt can’t reach. A soft detail brush works soap into these spots during the wash, so they don’t drip dirty water onto the clean paint later.
A car can look clean from three feet away and still have grime packed around the badges, in the grille, and around the fuel cap. Those areas fill with dirt because they’re hard to reach, and they keep dripping dirty water after the wash if they aren’t cleaned.
A soft brush, used gently with soapy water, lifts that dirt without scratching. The edges of mirrors, door handles, and window trim get the same treatment. Door jambs, the painted area you see when the door is open, are wiped or rinsed carefully so water doesn’t spray into the cabin.
This is also a step where judgment matters more than products. Some emblems and trim pieces are fragile, and some cars have sensors and cameras in the bumpers and grille. Those are cleaned gently, never blasted at close range.
Cameras and sensors: Modern cars carry parking sensors, cameras, and radar units in the bumpers, grille, and mirrors. A careful detailer keeps high-pressure water at a distance from them and cleans their surfaces by hand. If your owner’s manual has washing instructions for these parts, follow them first.
Step 6: The Final Rinse
Quick answer: The final rinse removes every trace of soap from the paint, glass, trim, and gaps, working from the top down. Soap left behind dries into film and spots, and it gets in the way of the protection that comes later.
It sounds like the easiest step, but a rushed rinse causes trouble later. Soap left in panel gaps, around mirrors, and under trim drips out during drying and leaves streaks. Soap left on the paint dries into a film that sealant or wax won’t bond to evenly.
A thorough final rinse works top to bottom, then goes back over the gaps: around the hood, the trunk lid, the mirrors, and the grille. Some detailers use a gentle, open flow of water at the end, which helps water sheet off the panels and leaves less to dry.
If your area has hard water, this is where spots begin. Minerals in tap water are left behind when water dries on the paint. That’s why drying starts right after the rinse, and why hard water spots that are already etched into the paint need extra work. For how wash and drying habits lead to swirls, read what causes swirl marks and how to remove them.
Step 7: Drying Without Adding Swirls
Quick answer: Drying uses clean, plush towels, laid flat and gently pulled or patted, along with a blower for mirrors, grilles, emblems, and gaps. Towels must be clean, used only for drying, and never dragged with pressure. Water left to air-dry leaves spots.
Drying is one of the most common places for swirls to start. A towel that picked up grit, or one used with too much pressure, can mark paint that was just washed carefully. That’s why drying towels are clean, plush, and kept separate from every other towel in the kit.
The safest method lets the towel do the work. A large towel is laid flat across a panel and gently pulled toward the detailer, or pressed and lifted. There’s no scrubbing. Towels get swapped for dry ones as they become damp, because a soaked towel just moves water around.
A blower clears water from places towels can’t reach: behind mirrors, inside the grille, around badges, and in the gaps around doors and lights. Without it, water runs out of those spots minutes later and leaves drip marks across the clean paint.
| Drying method | When it helps | Watch out for |
|---|---|---|
| Plush towel, laid and pulled | Large flat panels | Dirty or dropped towels, which must be replaced |
| Press and lift | Delicate or soft paint | Taking longer, which is fine |
| Blower | Mirrors, grilles, emblems, gaps | Blowing dust from the ground onto wet paint |
| Air-drying | Never on its own | Water spots, especially with hard water |
Step 8: Clay Bar Decontamination
Quick answer: After the wash, some contamination stays bonded to the paint and makes it feel rough. A clay bar glides over a lubricated panel and lifts that contamination off. The paint goes from gritty to glass-smooth, which helps protection bond and last.
Run your fingertips over clean paint, or over the paint through a thin plastic sandwich bag, and you may feel tiny bumps. That’s contamination a wash doesn’t remove: industrial fallout, road tar specks, overspray, and residue that has stuck to the clear coat. Clay is designed to pick those up.
Technique is what makes clay safe. The panel must be clean and well lubricated. The clay is flattened into a patty, glided in straight lines with light pressure, and checked often. When it gets dirty, it’s folded to expose a clean face. If it’s dropped on the ground, it’s thrown away, because grit picked up from the pavement would scratch the paint.
Clay can leave very light marring on soft paint, which is one reason protection follows right after, and why paint correction is sometimes recommended after clay on cars with soft or dark finishes. Clay isn’t polishing. It removes what sits on top of the paint, not scratches in it.
| Clay technique | Why |
|---|---|
| Plenty of lubricant | Lets the clay glide instead of grabbing |
| Light pressure, straight lines | Reduces the chance of marring |
| Fold to a clean face often | Keeps picked-up contamination off the paint |
| Discard dropped clay | Ground grit would scratch the clear coat |
| Wipe the panel after | Removes lubricant residue before protection |
Step 9: Checking the Paint in Good Light
Quick answer: Once the paint is clean and smooth, the detailer checks it in good light. Swirls, scratches, and etched spots that were hidden by dirt become visible. Those can’t be fixed by protection, so this is when paint correction or scratch repair might be discussed, priced separately.
A clean car shows its paint honestly. Fine swirls from past washes, light scratches from keys or bushes, and etching from bird droppings or water spots often show up only after the dirt and contamination are gone. This check happens before protection goes on, because protection seals the paint as it is.
If the paint looks good, the detail moves on to protection. If there are swirls or scratches you care about, the detailer can explain options. Light clear coat marks may respond to polishing. Deeper marks, chips, and anything through the paint are a different job, and some belong with a body shop. Read one-step vs. multi-stage paint correction and mobile scratch repair vs. a body shop for how those choices work.
At Formula X, paint correction is quoted after inspection, and scratch repair is priced as an extra. Neither is part of a standard exterior detail, and you’ll hear about them before any work is done, never as a surprise on the bill.
Step 10: Protection With a Ceramic Sealer or Wax
Quick answer: Protection goes on clean, dry, smooth paint, in a thin, even layer, worked one panel at a time and buffed off as directed. A ceramic sealer usually lasts longer than wax. In Formula X’s packages, Bronze Exterior and Gold include a ceramic sealer, and Silver includes a 6+ month wax.
Protection is the step that keeps the clean result going. It adds a layer between the paint and the weather, so water beads and rolls off, dirt sticks less, and the next wash is easier. The key to applying it well is restraint. A thin, even coat bonds and buffs off cleanly. A thick coat streaks and wastes product.
Most products are applied to one panel at a time, left for the time the label says, and wiped off with a clean towel. Applying sealant in direct sun or on a hot panel can make it flash too fast and leave high spots, which is another reason setup matters.
A ceramic sealer is different from a professional ceramic coating. A sealer is a lighter layer of protection that lasts months. A coating is a more involved, multi-step job, usually done after paint correction, and it’s quoted after inspection. For a side-by-side look, read ceramic coating vs. wax vs. sealant.
| Protection | In which package | Published durability |
|---|---|---|
| Ceramic sealer | Bronze Exterior ($295+), Gold ($495+) | About 6 months |
| Wax | Silver ($395+) | 6+ months |
| Ceramic coating | Separate service | Quoted after inspection |
How to Tell the Protection Is Working
Quick answer: Fresh protection makes water bead up or sheet off quickly, makes the paint feel slick, and makes the next wash easier. As it wears, water lingers in flat sheets and dirt sticks more. That’s a sign the car is due for another wash and fresh protection.
You don’t need tools to check protection. After the next rain or the next rinse, watch the water. On freshly protected paint, it forms tight beads or runs off in sheets. On bare or worn paint, it sits in flat patches and dries into spots.
Feel is another clue. Protected paint feels slick under a clean hand. Paint that feels grabby or rough has picked up contamination again or has lost its layer of protection.
Published durability is a guide, not a promise. A car parked outside under trees, driven through a Connecticut winter, and washed with harsh soap will wear its protection faster than a garaged car washed gently. The washing habits in this guide help any protection last closer to its published time.
| What you see | What it usually means |
|---|---|
| Tight beads, quick runoff | Protection is fresh and working |
| Slower runoff, larger beads | Protection is wearing |
| Flat sheets of water that linger | Little or no protection left |
| Rough feel after washing | Contamination is back; clay may help |
Step 11: Trim and Plastics
Quick answer: Exterior plastic and rubber trim gets cleaned during the wash and, where the package includes it, dressed with a product applied by applicator, not sprayed. Dressing is kept off the paint and glass, and excess is wiped away so it doesn’t streak in the rain.
Unpainted black trim fades and turns gray over time, and it can hold wax residue that leaves white marks. Cleaning it during the wash and dressing it at the end brings back a deeper, even color. Formula X’s Silver package lists dressed trim and tires.
Dressing is applied with an applicator pad, not sprayed across the car, because overspray on paint and glass leaves an oily film that streaks. Excess is wiped off, so the trim looks even rather than greasy. On matte or textured trim, less product looks better.
This step comes late for a reason. If trim were dressed before protection, the sealant or wax towel would smear dressing across the paint. If it were dressed before the rinse, the water would wash it straight off.
Step 12: Tire Shine Without Sling
Quick answer: Tire shine goes on the clean, dry sidewall with an applicator, in a thin layer, and the excess is wiped off. That stops sling, the spray of dressing flung onto the paint when the car first drives off. Every Formula X exterior and combined package includes tire shine.
Tire dressing makes clean tires look new, but too much of it is a common mistake. Wet, heavy dressing gets thrown off by the spinning tire and leaves dark spots along the lower doors and fenders. It also collects dust.
The fix is simple. The tire must be clean and dry first, which goes back to Step 2. Dressing goes on with an applicator, not sprayed, and it’s worked into the sidewall. Excess is wiped off, and the dressing is given time to set before the car moves.
If you want a satin look rather than a high gloss, say so. The finish is a matter of taste, and a lighter coat looks more natural on most cars.
| Tire problem | Cause | How it’s avoided |
|---|---|---|
| Sling on the paint | Too much wet dressing | Thin layer, excess wiped off |
| Patchy, brown look | Dressing over a dirty tire | Scrubbing the tire in Step 2 |
| Dressing on the wheel | Spraying near the rim | Applicator, kept to the sidewall |
Want Every Step Done in the Right Order?
Tell Formula X Mobile Auto Detailing & Ceramic Coating the vehicle, where it’s parked, and what’s bothering you about the outside, with a few photos. You’ll hear which package fits, what would be extra, and how the visit will be set up, before any water touches the car.
Step 13: Exhaust Tips and Last Details
Quick answer: Exhaust tips are cleaned of soot and given a final wipe, and the detailer goes over badges, mirrors, and door handles for leftover water or product residue. Formula X’s Bronze Exterior and Gold packages list windows and exhaust tips.
Exhaust tips collect soot that a normal wash leaves behind. Cleaning them takes a little time and a separate towel, because soot stains everything it touches. A clean, bright tip is one of those small things that makes a detail look finished.
This is also the moment for a quick pass over the small areas that tend to show leftovers: wax residue in a badge, a drip from a mirror, dressing on a mud flap, or a streak along the door handle. A soft brush or a clean towel takes care of most of it.
On some cars, exhaust tips are fake trim pieces or are built into the bumper. They’re cleaned the same careful way, with products safe for their finish.
Step 14: The Glass Comes Last
Quick answer: Exterior glass is cleaned last, with dedicated towels, because every earlier step can splash, mist, or smear it. Windows are often lowered slightly to clean the top edge, mirrors are included, and the glass is checked from more than one angle for streaks.
Glass shows every mistake. Water spots, wax haze, dressing overspray, and fingerprints all appear in low sun. That’s why glass waits until the end, when nothing else will land on it.
A good method uses one towel to clean and another to buff dry, both kept only for glass. Lowering each window an inch lets the detailer clean the top edge that usually hides under the seal. Mirrors, the rear window, and the windshield’s lower corners get the same attention.
Glass cracks, chips, and pitting aren’t part of a detail. Cleaning can make a chip easier to see, but repairing it is a job for a glass shop. Hazy, yellowed headlights are a separate service too; see headlight restoration.
How to check it yourself: look through the windshield from the driver’s seat toward a bright area, then look at the side glass from an angle outside. Streaks and haze show up at an angle more than straight on.
Step 15: The Final Walk-Around
Quick answer: The detail ends with another walk-around, ideally with you. Look for missed spots, residue, drips, and streaks, and compare anything you pointed out at the start. It’s much easier to fix something on the spot than after the detailer has left.
The first walk-around set expectations. The last one confirms them. A careful detailer looks at the car from several angles and in different light, because a streak that’s invisible in shade can be obvious in sun.
If you can be there, walk around the car together. Look at the lower doors, behind the wheels, the glass at an angle, the tires, and around the badges. Ask about anything that looks different from what you expected.
Remember what the detail was meant to do. It cleans and protects the outside. It won’t remove scratches, dents, or chips, and it isn’t a repair. If you’d like help judging the result, read what’s included in a mobile exterior detail.
| Check | Where to look |
|---|---|
| Road film left behind | Lower doors, rocker panels, behind the wheels |
| Residue | Badges, trim edges, panel gaps |
| Drips | Below mirrors, door handles, and lights |
| Streaks | Glass viewed at an angle |
| Sling | Paint just behind each tire |
The Most Common Exterior Washing Mistakes
Quick answer: The most common mistakes are washing in direct sun, using one bucket, sharing wheel and paint tools, scrubbing in circles, drying with dirty or rough towels, using dish soap, and letting water air-dry. Each one either scratches the paint or leaves spots.
Most of these mistakes happen at home with good intentions. Knowing them helps you keep a detailed car looking good, and it helps you judge how any detailer works.
Washing in direct sun
Soap and water dry on hot panels before they’re rinsed, leaving spots and streaks.
One bucket for everything
Grit from the mitt goes back into the soap and back onto the paint.
Same tools for wheels and paint
Brake dust and metal particles scratch the clear coat.
Scrubbing in circles
Pressure and circular motion leave swirls that show in sunlight.
Dirty or rough drying towels
Grit in a towel drags across paint that was just washed.
Dish soap
It’s made to strip grease, and it can strip wax and sealant too.
Letting the car air-dry
Minerals in tap water leave spots behind.
Too much tire shine
Wet dressing slings onto the paint when you drive away.
If the paint already shows swirls from past washes, a detail won’t remove them. That’s a polishing job. See paint correction for how it works.
Weather, Sun, and Connecticut Seasons
Quick answer: Heat, direct sun, wind, rain, and freezing temperatures all change how exterior work goes. Sealant and wax need a dry surface, and water freezes on panels in winter. If the forecast turns, exterior work is usually rescheduled rather than rushed.
Connecticut weather shapes every step. Summer sun makes setup and timing more important, because hot panels dry soap and sealant too fast. Spring pollen settles on wet paint and on fresh protection. Fall leaves and sap from overhead trees can land on the car mid-job, so where the car is parked matters.
Winter brings road salt and cold. A Connecticut Office of Legislative Research report on road deicers notes that the state DOT recommends washing cars after snowstorms and regularly through winter to reduce salt buildup. Cold also makes exterior work harder, because water can freeze on the paint and protection may not cure properly. A garage helps.
For seasonal planning, read spring detailing for salt and pollen and how road salt damages a car.
| Condition | Effect on the detail | What helps |
|---|---|---|
| Hot sun | Spots, streaks, product flashing too fast | Shade, cooler time of day, one panel at a time |
| Wind | Dust and pollen on wet paint | A sheltered spot or garage |
| Rain | Protection can’t go on wet paint | Rescheduling exterior work |
| Freezing temperatures | Water freezes on panels | A garage, or a warmer day |
| Pollen season | Yellow film settles on fresh work | Avoiding parking under trees after |
Coated, Wrapped, and Film-Protected Cars
Quick answer: A car with a ceramic coating, a vinyl wrap, or paint protection film still gets the same order of steps, but with gentler products and techniques. Coated cars usually skip heavy decontamination, and coating makers publish their own aftercare rules, which come first.
If your car is coated, the coating installer’s instructions come first. Ceramic Pro’s aftercare page is one example of the kind of guidance coating makers publish. In general, coated paint needs a gentle wash, not aggressive chemicals or heavy clay, because the goal is to keep the coating working, not to strip it.
Wraps and paint protection film need care too. Some solvents and waxes aren’t meant for vinyl, matte finishes shouldn’t be polished or waxed to a shine, and high-pressure water aimed at film edges can lift them. Tell the detailer about any wrap or film before the wash starts.
For examples of coated and corrected cars, see Formula X’s Porsche Cayenne ceramic coating in Old Greenwich and Mercedes G-Wagon paint correction in Greenwich. For interior care on a luxury SUV, see the Range Rover interior detail in Cos Cob.
| Finish | Adjust which steps | Why |
|---|---|---|
| Ceramic coating | Wash, clay, protection | Follow the installer’s aftercare; avoid stripping |
| Vinyl wrap | Products, pressure, protection | Some solvents and waxes harm vinyl |
| Matte paint or wrap | Clay, protection, drying | Polishing or waxing can add unwanted shine |
| Paint protection film | Pressure washing, edges | High pressure can lift film edges |
Which Formula X Packages Include Which Steps
Quick answer: Every Formula X exterior and combined package starts with a hand wash and ends with tire shine. Bronze Exterior ($295+) and Gold ($495+) add clay bar decontamination, a ceramic sealer, windows, and exhaust tips. Silver ($395+) uses a 6+ month wax with dressed trim and tires.
The steps in this guide describe careful exterior practice in general. Which steps your car gets depends on the package. The table below lists the exterior side of each published package, with nothing added. For the full list, including the interior side, read what’s included in a mobile exterior detail.
| Package | From | Exterior steps listed |
|---|---|---|
| Bronze Exterior | $295+ | Hand wash, clay bar, windows and exhaust tips, ceramic sealer (6 months), tire shine |
| Silver (interior + exterior) | $395+ | Safe hand wash, 6+ month wax, dressed trim and tires, tire shine |
| Gold (interior + exterior) | $495+ | Safe hand wash, clay bar decontamination, ceramic sealer (about 6 months), windows and exhaust tips, tire shine |
Prices vary with the vehicle’s size and condition, with extra charges for scratches, heavy soil, sap, hard water spots, and pet hair. Ceramic coating and paint correction are quoted after inspection.
If the paint feels rough after a wash, a package with clay makes the biggest difference. If the car is well kept and you want a lighter refresh inside and out, Silver may fit. If the whole car needs a reset, Gold covers both sides. If you’re getting the car ready to sell, read is detailing before selling worth it?
What an Exterior Detail Doesn’t Include
Quick answer: An exterior detail cleans and protects the outside. It doesn’t remove scratches, repair dents, chips, rust, or paint damage, fix glass, or do any mechanical work, and it doesn’t clean the underside of the car. Formula X refers that work to the right shop.
Knowing where a detail stops is part of knowing what it does. Every step in this guide is about cleaning the surfaces you can see and protecting the paint. None of it repairs anything.
Scratch repair is priced separately, and paint correction is quoted after inspection. Dents, rust, chips that need paint, and collision damage belong with a body shop. Cracked or pitted glass belongs with a glass shop. Anything mechanical belongs with a mechanic. For more on the line between detailing and repair, read mobile scratch repair vs. a body shop.
| Not part of a detail | Who handles it |
|---|---|
| Dents, rust, body and paint repair | A body shop |
| Glass cracks and chips | A glass shop |
| Mechanical problems | A mechanic |
| Underside of the car | Not offered by Formula X |
| Scratch removal | Scratch repair (extra) or paint correction (quoted after inspection) |
How to Wash at Home Between Details
Quick answer: To keep a detailed car looking good, wash it in shade with two buckets, a soft mitt, and a car-specific soap, using separate tools for the wheels. Rinse well, dry with clean plush towels, and avoid automatic washes with brushes. Follow any coating aftercare you were given.
The work done in a detail lasts longer when the washes in between follow the same logic. You don’t need professional equipment. You need the order and the separation of tools.
- Park in shade and let the paint cool.
- Clean the wheels and tires first, with their own brush and mitt.
- Rinse the whole car from the top down.
- Wash with two buckets, a soft mitt, and car soap, roof first and lower panels last.
- Rinse thoroughly, including gaps and mirrors.
- Dry right away with clean, plush towels, laid and pulled gently.
- Clean the glass last, with its own towels.
Keep wash water in mind at home too. The Long Island Sound Partnership explains how what washes into storm drains reaches local water. For how often to book a full detail, read how often you should detail your car.
Where Formula X Does Mobile Exterior Detailing
Quick answer: Formula X is based in Stamford and does mobile exterior detailing throughout lower Fairfield County and into Westchester County, NY, at homes, offices, and condo buildings where washing is allowed. Each town has its own page.
A mobile detail follows the same steps wherever the car is parked. What changes from town to town is the setting: a driveway in North Stamford, a garage in a Harbor Point building, an office lot in Norwalk, or a street with tree cover in Old Greenwich. Mention your setting when you book.
For a look at mobile work in a Stamford building, read mobile detailing at Harbor Point in Stamford. For a scratch repair example, see the BMW X5 scratch repair in Greenwich.
Each town has its own page: Stamford, Greenwich, Cos Cob, Old Greenwich, Riverside, Darien, New Canaan, Norwalk, Rowayton, Westport, Wilton, Weston, Ridgefield, and Fairfield. In Stamford, there are also pages for Shippan and North Stamford. Across the state line, see Westchester County, Rye, and Bedford. For the full list, see all service areas.
Booking a Mobile Exterior Detail
Quick answer: To book, send the vehicle, where it’s parked, what bothers you about the outside, and a few photos. You’ll hear which package fits and whether anything would be extra. Same-day service may be possible when available, so call to check.
The more the detailer knows before the visit, the better the steps in this guide can be planned. The vehicle and its size, the finish (gloss, matte, wrap, film, or coating), where it’s parked, and whether there’s shade or a garage all matter.
Photos help most with condition. Sap, bird droppings, water spots, and heavy grime can add time and cost, and seeing them ahead of time means no surprises. Send them through the contact page, or call (203) 945-9454.
If you need the car done quickly, same-day service may be possible when available, so call to check. For what the work looks like, browse the work gallery, and to learn about the team, see About Formula X. Detailers who want formal training can look at the International Detailing Association’s certification program.
Formula X Mobile Auto Detailing & Ceramic Coating
Formula X Mobile Auto Detailing & Ceramic Coating is a mobile detailing, paint correction, scratch repair, and ceramic coating service based at 48 Union St, Stamford, CT 06906. The team works throughout Stamford, Greenwich, Darien, New Canaan, Norwalk, Rowayton, Westport, and other towns in lower Fairfield County, and Westchester County, NY.
For exterior work, that means a careful order from the wheels to the glass, separate tools for wheels and paint, packages from $295+, $395+, and $495+, and a straight answer on anything that’s quoted separately.
Call (203) 945-9454, email formulaxautodetail@gmail.com, send a request through the contact page, or view Formula X Mobile Auto Detailing & Ceramic Coating on Google Maps. Address: 48 Union St, Stamford, CT 06906.
Frequently Asked Questions About the Exterior Detailing Process
What are the steps of an exterior detail, in order?
A careful exterior detail usually goes: walk-around inspection, wheels and tires, pre-rinse and foam pre-wash, two-bucket hand wash from the top down, final rinse, drying, clay bar decontamination, a ceramic sealer or wax, trim and tire dressing, exhaust tips, and the glass last.
Why are the wheels cleaned before the paint?
Wheels are the dirtiest part of the car, and cleaning them splashes brake dust and grime. Doing them first means anything that lands on the lower panels gets washed off later, instead of landing on paint that was just cleaned.
What is the two-bucket wash method?
One bucket holds soapy water and the other holds plain rinse water. After each section, the mitt is rinsed in the clean bucket before it goes back into the soap, so grit stays out of the soap and off the paint. Grit guards help keep settled dirt at the bottom.
Why is a car washed from the top down?
The roof, glass, and hood are usually the cleanest panels, and the lower doors and bumpers are the dirtiest. Washing top to bottom keeps the mitt at its cleanest where the paint is most visible and stops dirty water from running over clean areas.
What does a clay bar do?
Clay lifts contamination that stays bonded to the paint after a wash, such as industrial fallout, tar specks, and overspray. It glides over a lubricated panel and leaves the paint smooth. It doesn't remove scratches. Formula X's Bronze Exterior and Gold packages include clay.
Is a ceramic sealer the same as a ceramic coating?
No. A ceramic sealer is a lighter layer of protection that lasts months, and it's included in Formula X's Bronze Exterior and Gold packages. A professional ceramic coating is a more involved job, usually after paint correction, and it's quoted after inspection.
Why is the glass cleaned last?
Every earlier step can splash, mist, or smear the glass, from rinse water to sealant and dressing. Cleaning it last, with towels used only for glass, means nothing lands on it afterward. Lowering each window slightly lets the top edge get cleaned too.
How do I stop tire shine from slinging onto the paint?
Clean and dry the tire first, apply a thin layer with an applicator rather than spraying, wipe off the excess, and let it set before driving. Heavy, wet dressing is what gets flung onto the lower doors and fenders.
Can I wash my car in direct sun?
It's best not to. On hot panels, soap and water dry before they're rinsed and leave spots and streaks, and sealant or wax can flash too fast. Shade, a cooler time of day, or washing one panel at a time works better.
Does an exterior detail remove scratches?
No. A detail cleans and protects the paint. Light clear coat scratches may be polished out through scratch repair, which is priced as extra, or paint correction, which is quoted after inspection. Deeper damage, dents, rust, and paint work belong with a body shop.
Is the process different for a coated or wrapped car?
The order stays the same, but products and techniques get gentler. Coated cars should be washed according to the installer's aftercare, wraps and matte finishes shouldn't be waxed to a shine, and high-pressure water should stay away from film edges.
Which Formula X package includes which exterior steps?
Bronze Exterior ($295+) lists a hand wash, clay bar, windows and exhaust tips, a 6-month ceramic sealer, and tire shine. Silver ($395+) lists a safe hand wash, 6+ month wax, and dressed trim and tires. Gold ($495+) lists a hand wash, clay, ceramic sealer, windows, exhaust tips, and tire shine, plus the interior.
Can I get a mobile exterior detail today?
Same-day service may be possible when available, so call to check at (203) 945-9454. Sending the vehicle, where it's parked, and a few photos helps the visit get planned quickly.
Where is Formula X Mobile Auto Detailing & Ceramic Coating located?
Formula X Mobile Auto Detailing & Ceramic Coating is based at 48 Union St, Stamford, CT 06906, and can be reached at (203) 945-9454. It's a mobile service that comes to homes, offices, and condo buildings across lower Fairfield County and Westchester County, NY.
Find Formula X Mobile Auto Detailing & Ceramic Coating
Formula X Mobile Auto Detailing & Ceramic Coating is a mobile service based at 48 Union St, Stamford, CT 06906. Use the map for directions to the business address, or call (203) 945-9454 to arrange service at your location.
View Formula X Mobile Auto Detailing & Ceramic Coating on Google Maps
Book a Mobile Exterior Detail
Call Formula X Mobile Auto Detailing & Ceramic Coating at (203) 945-9454 or send a request with your vehicle, where it’s parked, what’s bothering you about the wheels, paint, or glass, and a few photos. You’ll hear which package fits and what’s likely to clean up, and anything that needs paint correction, a coating quote, or a body or glass shop will be said plainly.
48 Union St, Stamford, CT 06906 · Serving Stamford, Greenwich, lower Fairfield County, and Westchester County, NY
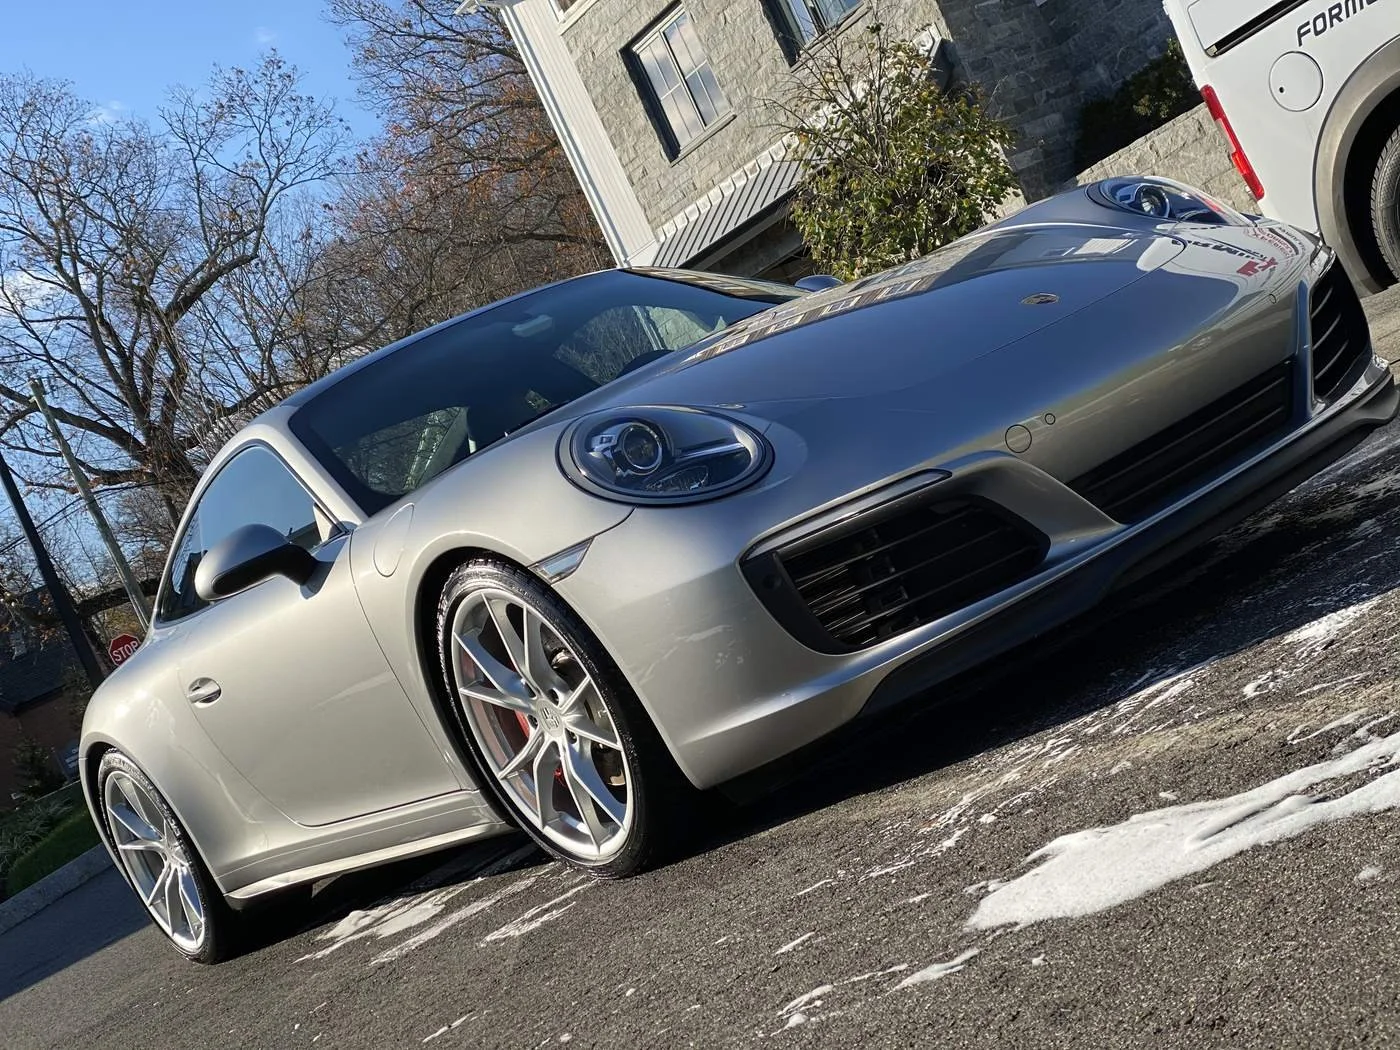
Recent Formula X detailing work